Inviting Users to Work on a Project
Studies are normally built by Teams. Earlier in this guide we set up Roles for users in the URL. Now that we have created a Project we can invite users to work on the Project using those roles.
First navigate to the Project Team list by clicking the link in the Manage Team card on the Project home page.
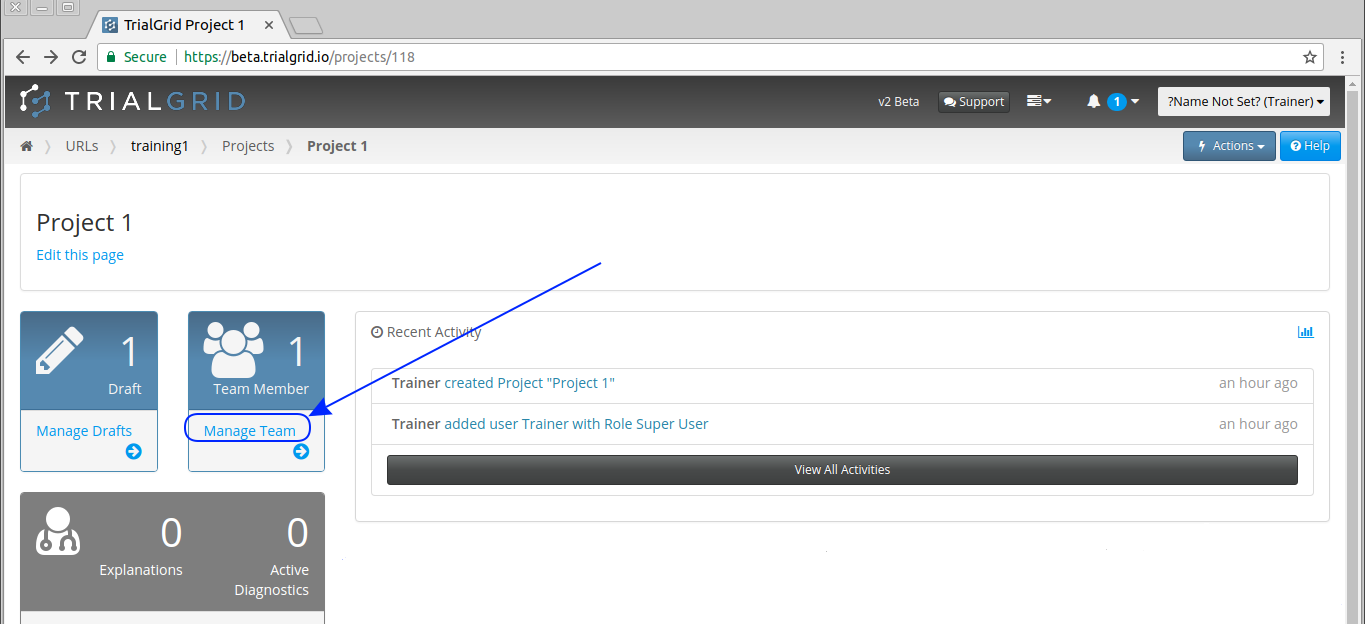

The Project Team List is shown. If you assigned yourself a Role when creating the Project, you will already appear
as a Team Member. To invite new members of the team click 
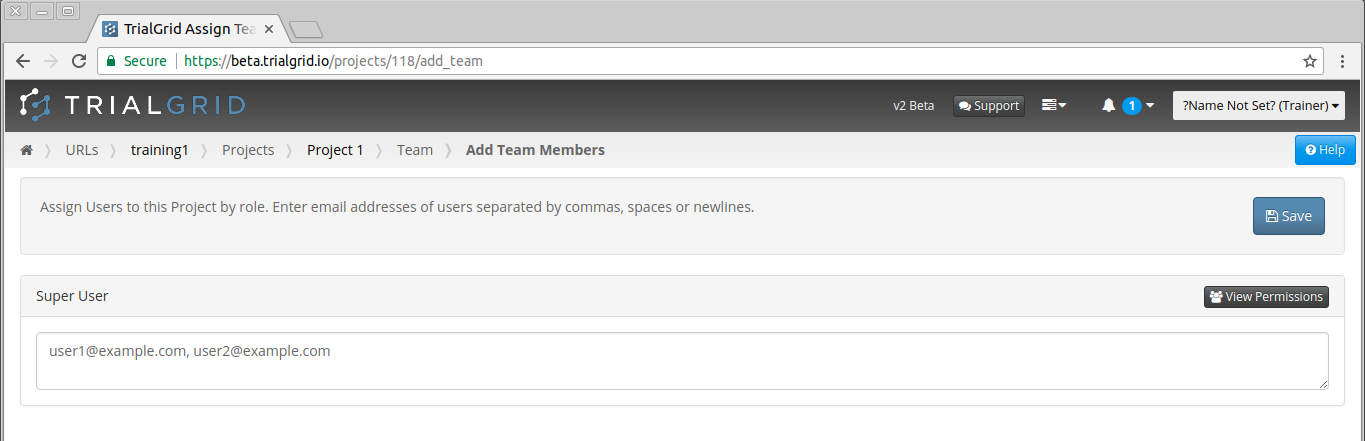
The Project User invitation page is shown with a text-area for each of the Roles defined for the URL. In this example we created only one role "Super User" so there is only one area to enter email addresses.
For each user you wish to invite, enter the email address of that user. Enter multiple email addresses (up to 50 at
a time) separated by commas, spaces or newlines and then click 
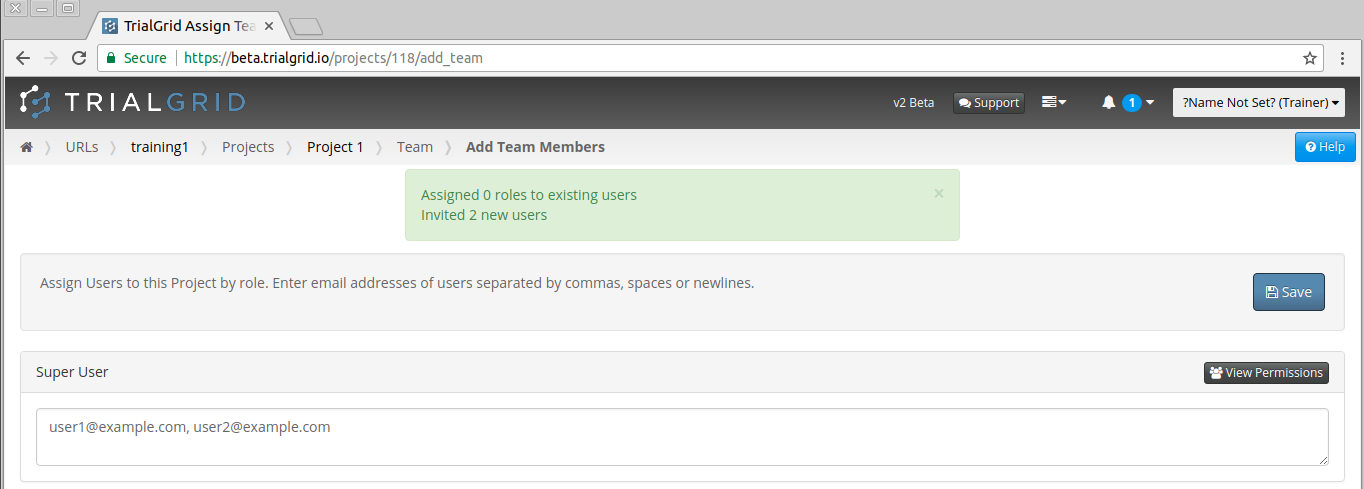
The page will update with a message to show how many users were invited.
Important
Users who already have an account in the system will be sent a message informing them that they now have access to this Project. Users who do not have an account in the system will be sent an invitation email to set up an account. Once they activate their account they will have access to the Project.
Use the breadcrumbs to return to the Team Project page:

The invited users and their Roles are shown in the listing. You can re-invite users at any time from this list.
Note
If you wish to change the Role of a user in the Project you can return to the invite page and enter their email address in the invite box for the new Role you wish the user to have. A user may only have one Role for a particular Project. Inviting a user with a new Role will switch them to that Role.